
A while ago I bought a red 1994 Land Rover Discovery 1, I did a lot of work to it, improving it and maintaining it, then I sold it. I was land Roverless for about two years. In that time I did a large lap of Australia and did some studying at Tafe, all while trying to save as much as possible. It was of course inevitable that I would have a Land Rover in my life again, I just had to wait and keep an eye out for the right one to come up for sale. And it did!

Here she is on the way home from collecting her, with my trusty Subaru in tow. (It towed the car trailer to the Land Rover, and it towed it just fine).

But wait there's more! I didn't just buy one land rover, I bought two! The white one doesn't really go and is unregistered, it will serve as a parts donor for the red one.

One of the first things I wanted to do was to try and get the white one to a point where it could start and drive, just so I can move it around the property to mow the grass under it etc. The first thing then was to remove this silly aftermarket immobilizer that wouldn't let the car start, even though I had the key fob. 🤦♀️

This is the kind of wire spaghetti I'd be dealing with.

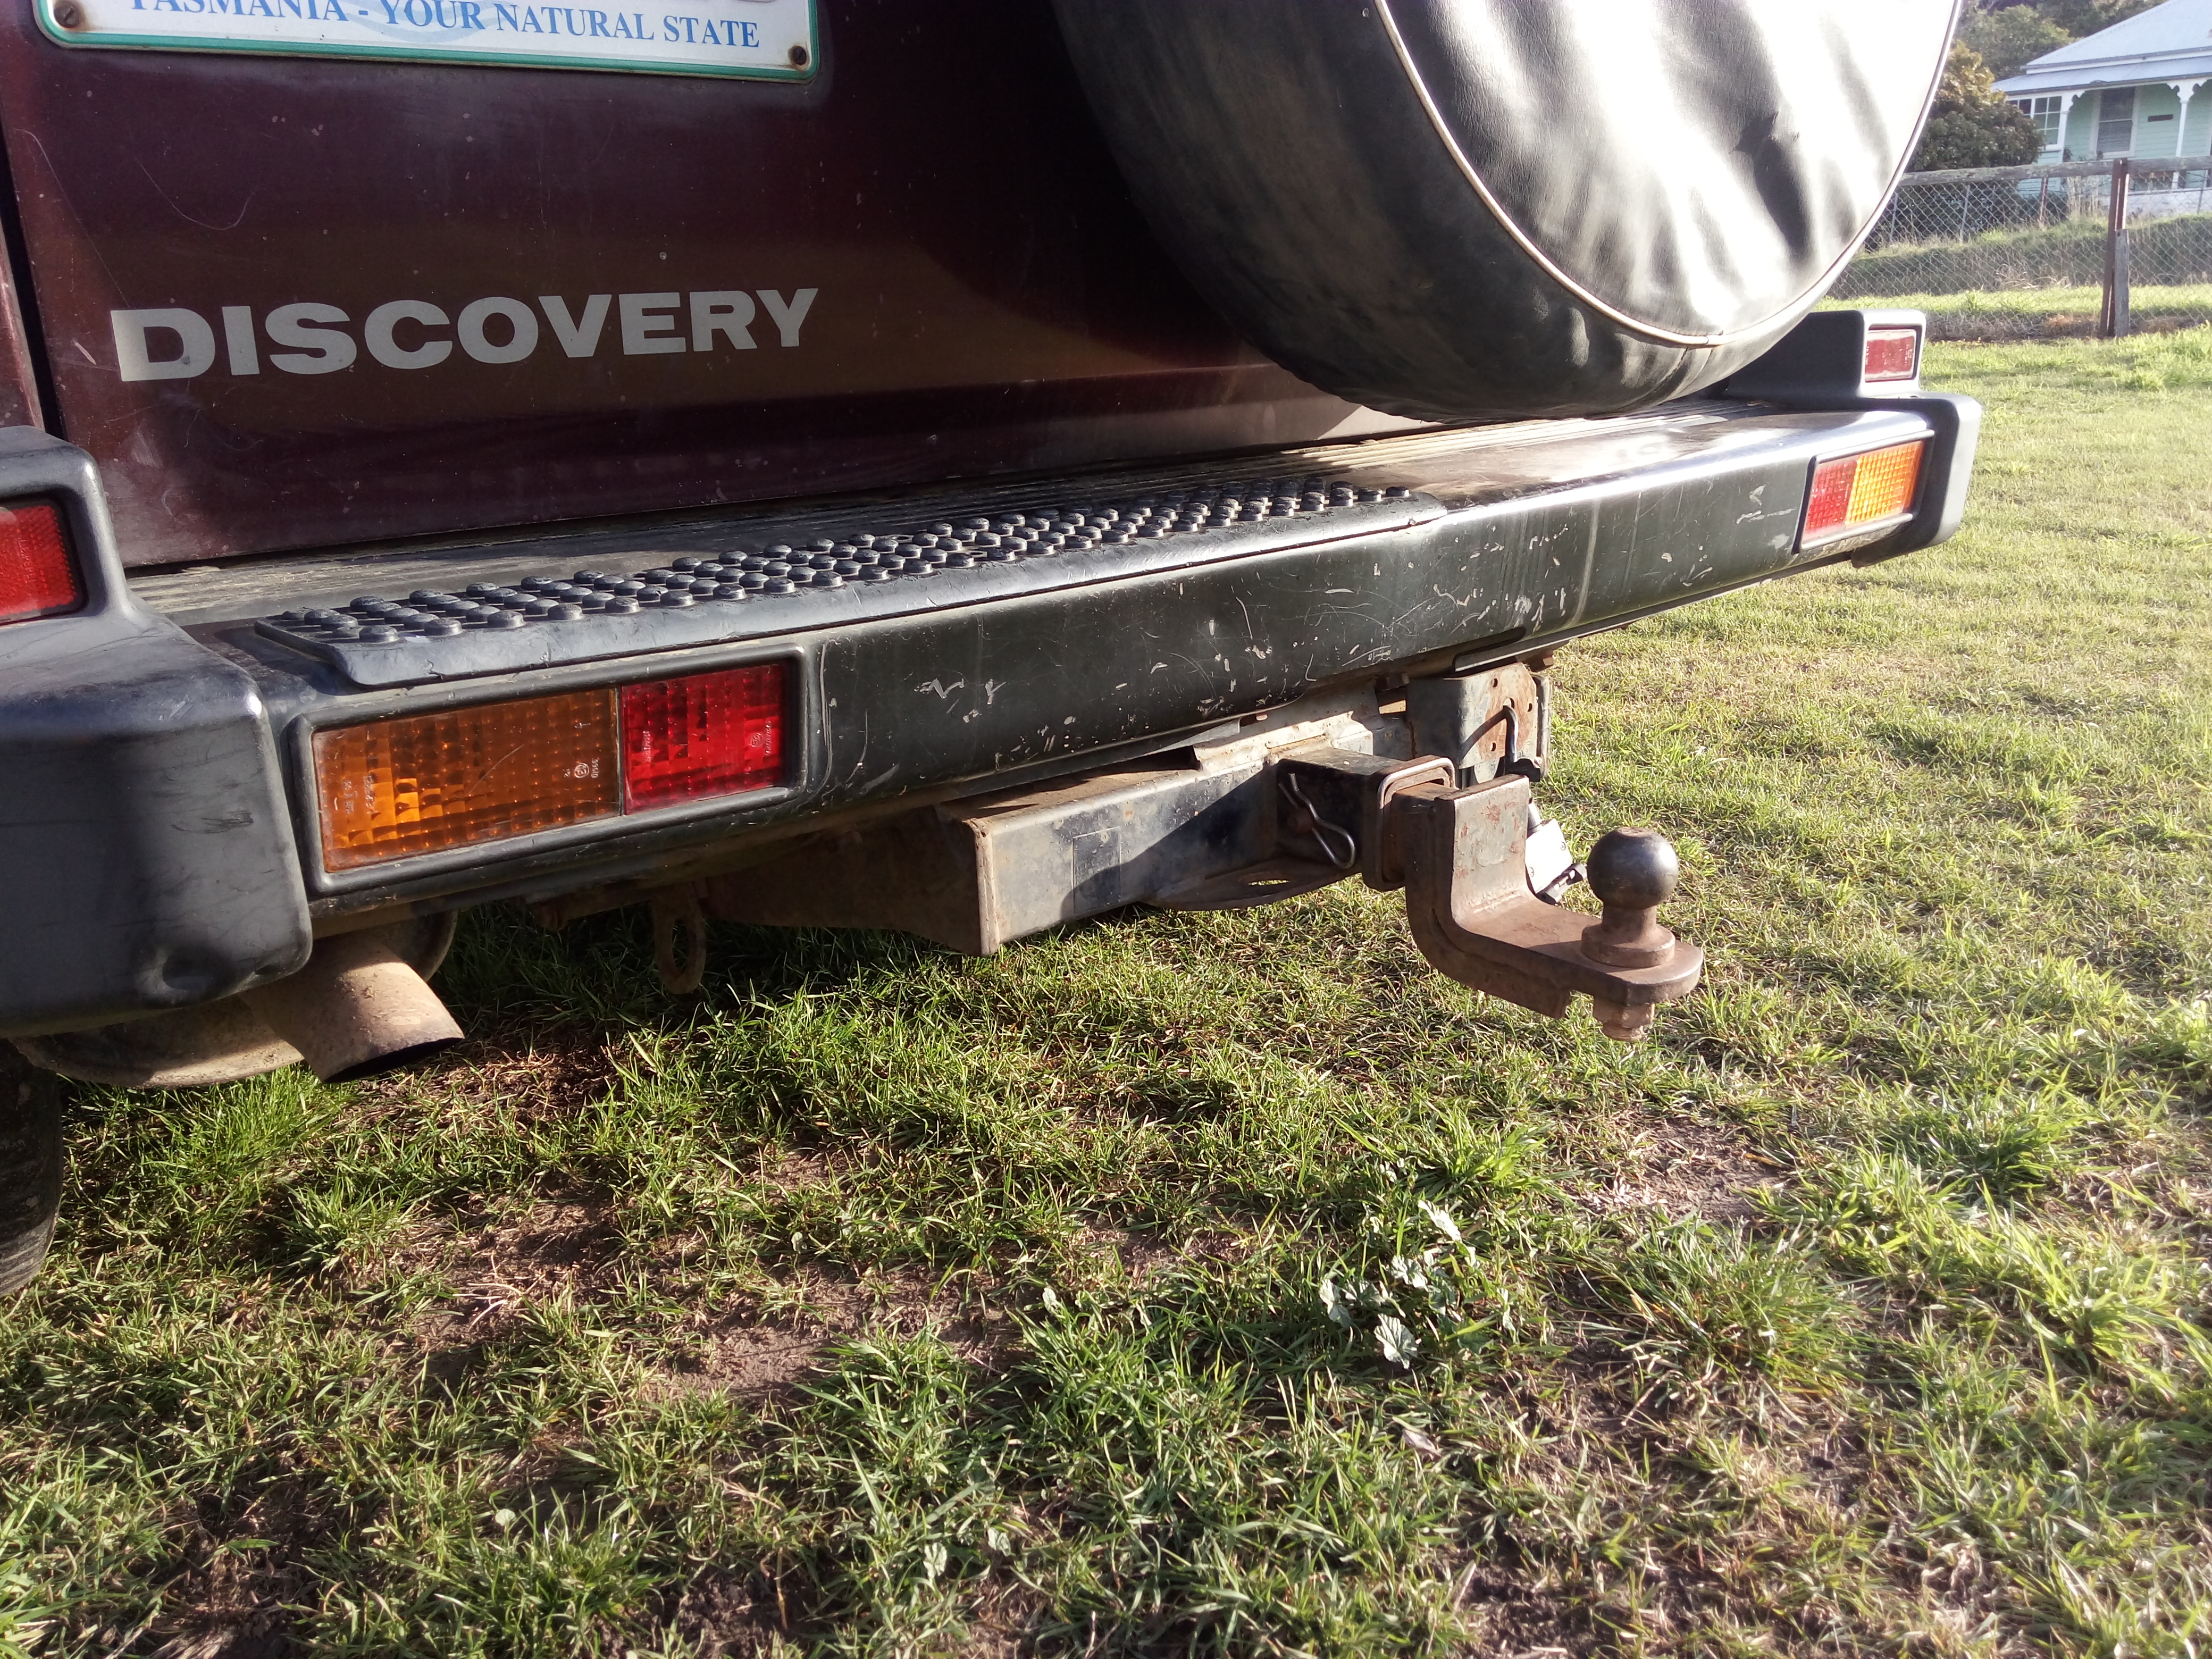
As with the last Disco I had, I wanted remote central locking in this one. The Discovery 1 came with central locking, but not all of them had remotes. Unless they came with a factory alarm system fitted (which mine didn't), the central locking is triggered by the drivers door being manually locked or unlocked with the key. So the car was made to have door lock actuators in it (except for the drivers door), which means that between the two cars, I have enough actuators for each door (5 in total). This means that all I really need to add is the 'remote' part of the remote central locking, and this can be done very cheaply with a simple kit bought on ebay, this one was about $25.

This circuit board came out of the key fob in the remote central locking kit, I had to modify that and the inside of the new Land Rover Discovery 2 key fob in order to fit it inside and have the buttons line up.

And here it is, just barely fitting into the key fob. The same was done with a second key fob as a spare. They work perfectly, and since the key blank is the same for the Discovery 1 and the Discovery 2, all I then had to do was get the new keys cut from the one origional I had.

This is the fuse box underneath the steering wheel, I'm taking power for the central locking unit from one of the constant 12v wires which is brown and pink (NK). I also joined the indicator wires from the central locking unit to the indicator wires on the back of the fuse box, which are green and red (GR), and green and white (GW). The power wire for the unit has it's own in-line fuse the same value as the standard fuse for the indicators so this is fine.

Out of the two Land Rovers there were only 5 origional door lock actuators between them, exactly the number I needed. On the left in this picture we have a disassembled door lock actuator unit from a gen 4 Subaru Liberty, I fortunately happened to have two of these lying around. And on the right there is one of the disassembled door lock actuator units from the Land Rover. Amazingly, the motor out of the Subaru unit, is exactly the same size as the one for the LR unit. Two of the motors in the LR units had failed completely, so it was handy that I happened to have a couple of replacements.

Two more of the Land Rover door lock units had motors that needed a little bit of attention, but I was able to get them working again. Out of all 5 door lock actuator units, only one of them was working properly and didn't need any attention, however it's only a matter of time...

One job that was high on the priority list was fixing the broken rear indicator as this compromises the legality. The orange lens was cracked and mostly missing, and unfortunately I couldn't replace the whole tail light unit with one from the other car because both of its tail light units were even more broken. So I had to cut the one intact orange lens out of one of the units from the parts car and glue it in place on the (mostly) good unit.
Thankfully this fix worked quite well, and although the two lenses don't look quite exactly the same, it's probably good enough and probably won't even be noticed by most.

I noticed some signs of rust around the drivers seat so I took it out and pulled the carpet up to inspect the floor. Something about Swiss cheese comes to mind...

Okay it's not quite that bad, I've seen much worse ones elsewhere online. However I'd still prefer to not be able to see the front right wheel from the drivers seat. I also wanted a few less holes around the drivers seat mounting points, so a bit of work was required.

Here I'm fixing what was actually a tear in the steel next to the front left mounting bolt of the drivers seat.

The seat frame had rusted away around the front right mounting bolt and so all of the force pushing back on the seat caused the seat frame to pull up on this one bolt which caused the steel next to it to tear over time.

No patches were needed on this one, just some hammering, welding and grinding.

Followed by primer.

I got this fire extinguisher for Christmas and it was a fairly quick and simple install. I think it's always a good idea to have a fire extinguisher in a vehicle.

The next floor repair I tackled was a fairly straightforward job, just a rectangle with no curves or bends to get my eye in for the big repair.

Always a little scary cutting holes in your car.

Marking out the new sheet metal with holes for bolts and for plug welds.

And tacked in place also with the plug welds done.

A few more tacks around the outside.

And now fully welded.

I ground the welds back a bit, just so the weren't protruding too much, not that it matters a whole lot as there's a layer of thick foam and then carpet to go back on, but this just helps it go back together a bit neater.

A couple of coats of primer.

And a coat of paint that was the closest colour I could find to the body of the car, but still very different looking at it here. Not to worry, it's all going to get covered back up anyway.

Now to tackle the big hole.

Even though this vertical bit of steel was perfectly intact, I decided that cutting the marked section out anyway would be the easiest way to fix the rust hole as the rusted away metal goes almost right up to the back side of this good metal. Removing it also allows much better access to the repair section and it won't be a problem to just weld it back in later.

Here I've marked where I'm going to cut around the rusty sections.

This is a slightly more challenging shape hole to try and fill.

Here is the cut out piece.

Here I've taken the three origional parts of steel apart, there was a seam right in the middle of where it rusted out. I'm guessing the seam played some part in helping it to rust as when water gets in between two overlapping panels, it stays there for much longer.

Even though this section of floor was originally two pieces, I decided to make it out of just one piece of steel for simplicity and also to hopefully avoid the aforementioned rust issue. As you can see to get the shape of the flat pattern needed I'm using some state of the art CAD (Cardboard Aided Design).

To my amazement, once the new piece was folded up, it fit in the hole perfectly, and there was much rejoicing.

After that I realized that part of the metal next to the piece I'd already cut out had rusted a bit too thin to weld to, and there were a couple of other holes there as well so I had to cut that out and make this other little replacement piece.

This is how it sits relative to the main piece.

After holding it in place with some magnets, I gave it a few tack welds.

Then a few more tack welds.

Then fully welded it up and ground the welds back a little bit.

And here's the welds from the inside also ground back.

The next step was to put the good origional bit of steel back in. Where it was spot welded originally, I drilled holes in it and plug welded them.

This was a very easy piece to weld in place.

And here it is with the welds ground back.

Primer.

I gave it a nice thick coat of under body sealer so hopefully it will last well enough now.

One little job I wanted to do was to shorten the gear stick a little bit, I just found it to sit a bit high in the car. The thick bit in the middle is a rubber damper which helps stop some of the vibrations reaching the top of the gear stick. Unfortunately where the rubber was bonded onto the lower part of the shaft it had come apart at some point.

So I cut out two 20mm sections out of the shaft, one on each side of the damper because I wanted to retain that if possible, and welded them back together.

I ground the protruding bits of some of the welds back and cleaned off the old bits of rubber on the lower shaft. I then cut some grooves in the shaft, smeared some sikaflex adhesive on it and pushed it back in.

So far this has worked just fine and it hasn't come off again. Now that the gear stick sits about 40mm lower, I find that it's in a much more comfortable position, so, very happy with this little mod.